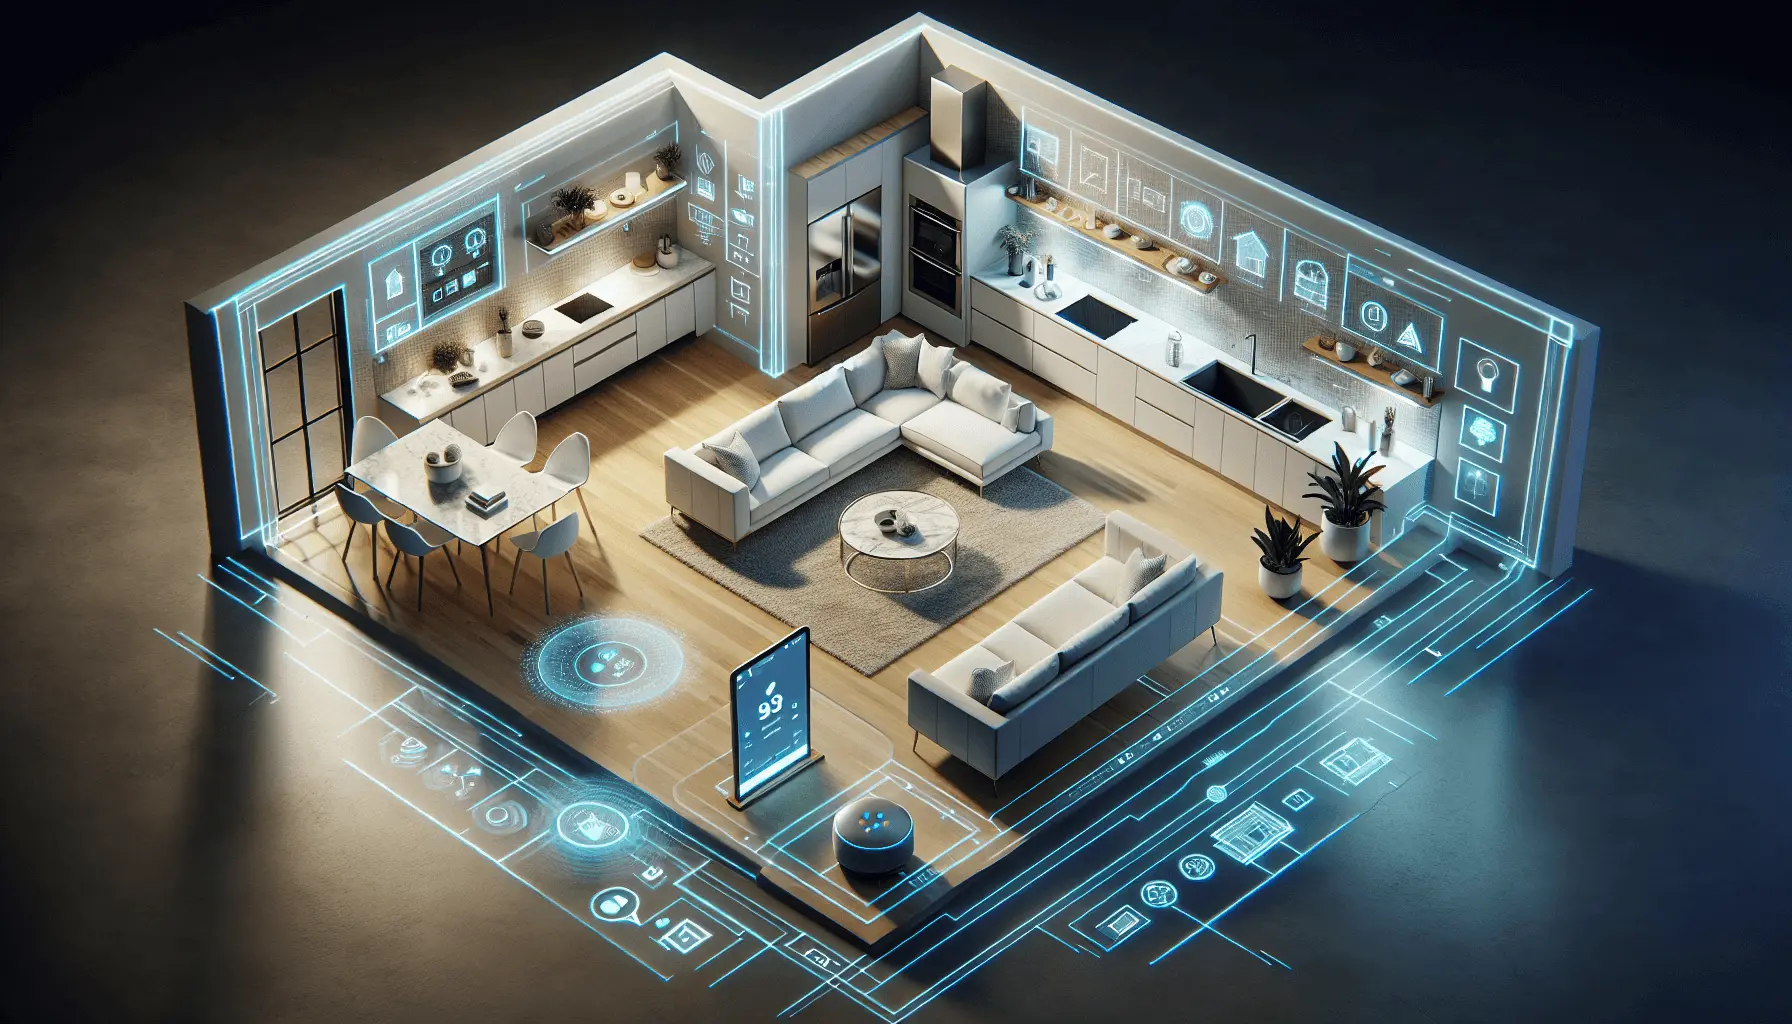
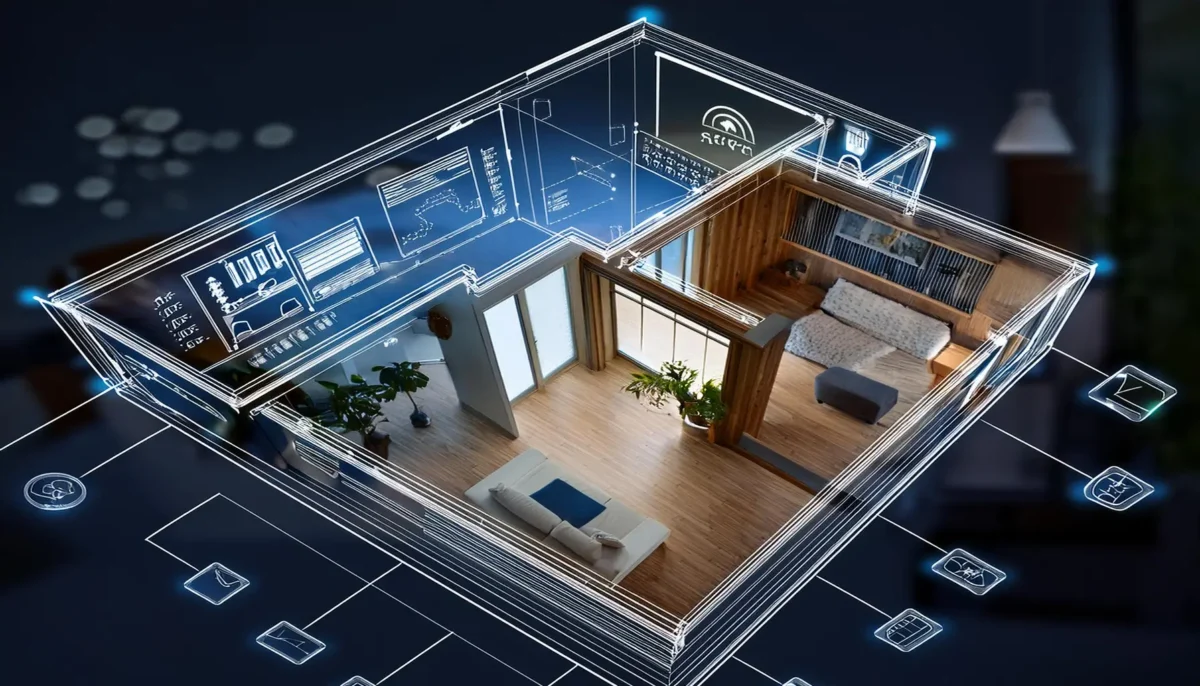
Imagine having a bird’s-eye view of your smart home, complete with all your devices and sensors neatly laid out on an interactive 3D floor plan. This isn’t just a futuristic concept – it’s a reality you can achieve with a Home Assistant 3D floor plan. By integrating this feature into your Home Assistant dashboard, you’ll gain a new level of control and visualization for your smart home setup, making it easier than ever to manage your devices and understand your home’s layout.
In this step-by-step guide, you’ll learn how to create and integrate a 3D floor plan into your Home Assistant configuration. We’ll walk you through the process of designing your floor plan, adding it to your Lovelace user interface, and connecting it with your security cameras and other smart devices. By the end, you’ll have a fully interactive, visually appealing rendering of your home that brings your smart home experience to life. Get ready to take your Home Assistant dashboard to the next level with this game-changing feature.
Designing Your 3D Floor Plan
Choosing the Right Software
To create your 3D floor plan, you have several software options. SketchUp and Fusion360 are popular choices for 3D modeling. However, for beginners, free and user-friendly alternatives like SweetHome3D or Room.le are excellent starting points. These tools offer intuitive interfaces and pre-built components, making the design process more accessible.
Measuring and Mapping Your Space
Begin by accurately measuring your home. For iPhone users, the Magicplan app utilizes LIDAR technology to create precise floor plans. If you’re using Room.le, you can easily draw walls by clicking and dragging, adjusting dimensions as needed. Set your ceiling height and fine-tune wall lengths to match your home’s exact measurements.
Adding Furniture and Fixtures
Once your basic layout is complete, it’s time to add details. Many software options provide libraries of furniture and fixtures you can drag and drop into your plan. For a more personalized touch, consider photographing your actual rugs and furniture to incorporate into the design. Don’t forget to include key elements like doors, windows, and stairs to create a comprehensive representation of your space.
Remember, while creating a detailed 3D floor plan for home assistant can be time-consuming, the result is a powerful visual tool for your Home Assistant setup.
Integrating with Home Assistant
Configuring Entity Placement
To integrate your 3D floor plan with Home Assistant, you’ll need to add it as a custom Lovelace card. Start by saving your floor plan image in the www folder of your Home Assistant configuration. When referencing this image in your configuration, use “/local/” instead of “www/”.
Create a new dashboard or edit an existing one, then add a picture elements card. This card type requires YAML configuration. Set the background image to your floor plan by specifying the path:
type: picture-elements
image: /local/your_floorplan_image.png
Setting Up Interactive Elements
Now, let’s add interactive elements to your floor plan. For each entity you want to display, add an “elements” section to your YAML configuration. Here’s an example for a light entity:
elements:
  - type: state-icon
    entity: light.living_room
    tap_action:
      action: toggle
    style:
      top: 25%
      left: 40%
Adjust the “top” and “left” percentages to position the icon correctly on your floor plan. You can also add other entity types like cameras, sensors, or buttons using similar syntax.
Customizing Appearance
To enhance the visual appeal of your floor plan, you can customize the appearance of your entities. Use the “style” section to adjust icon size, color, or opacity. For example:
style:
  top: 25%
  left: 40%
  --mdc-icon-size: 30px
  color: yellow
  opacity: 0.8
You can also use custom images for different states of an entity, like open/closed doors or on/off switches. This allows for a more intuitive representation of your smart home’s status.
Remember, creating an interactive 3D floor plan can be time-consuming, but the result is a powerful visual tool for your Home Assistant setup.
Conclusion
Creating a Home Assistant 3D floor plan brings a new dimension to smart home management. This visual tool offers an intuitive way to interact with your smart home devices, making it easier to control and monitor your home. By following the steps outlined in this guide, you can design a personalized 3D layout and seamlessly integrate it with your Home Assistant dashboard, resulting in a more engaging and user-friendly smart home experience.
The process of creating and implementing a 3D floor plan may take some time, but the end result is well worth the effort. It not only enhances the functionality of your Home Assistant setup but also adds a touch of sophistication to your smart home interface. Need Home Assistant 3D Floor Plan? Contact us Now. With this powerful visualization tool at your fingertips, you’ll have a deeper understanding of your smart home’s layout and be better equipped to manage your devices efficiently.
FAQs
1. How do I create a floor plan using Home Assistant?
To create a floor plan in Home Assistant, start by ensuring that the Home Assistant Community Store (HACS) is installed. Navigate to HACS, select ‘Integrations’ and then ‘Frontend’. Click on ‘Explore & Add Repositories’, search for ‘ha-floorplan’, and install it. Remember to add the /hacsfiles/ha-floorplan/floorplan. Follow the provided guide to add your first floor plan.
2. What are the steps to create a basic floor plan?
To create a basic floor plan, follow these steps:
- Choose the specific area you want to draw.
- Take measurements of the building’s walls, doors, and essential furniture to ensure accuracy.
- Begin drawing the walls.
- Incorporate architectural features.
- Place furniture into the plan.
3. How can I create a 3D house plan?
Creating a 3D house plan begins with drawing the exterior walls and rooms of the ground floor in 2D. After this, add any additional floors like the basement. Then, insert windows, doors, and customize colors and measurements to enhance the plan.
4. Is it possible to have a 3D floor plan?
Yes, a floor plan can indeed be rendered in 3D. 3D floor plans are beneficial as they allow clients to visualize the space better, ensuring clarity and preventing miscommunication during the design and construction stages.


