Home Assistant (HA) is a powerful platform that allows you to control and automate your smart home devices. One of the most exciting aspects of Home Assistant is the ability to create custom dashboards, also known as Lovelace UI, which give you control over your devices and a way to visualize your home’s data. If you’re new to Home Assistant, building your first dashboard might seem daunting, but with this beginner’s guide, you’ll be able to create a functional and visually appealing dashboard in no time.
Understanding Home Assistant Dashboards
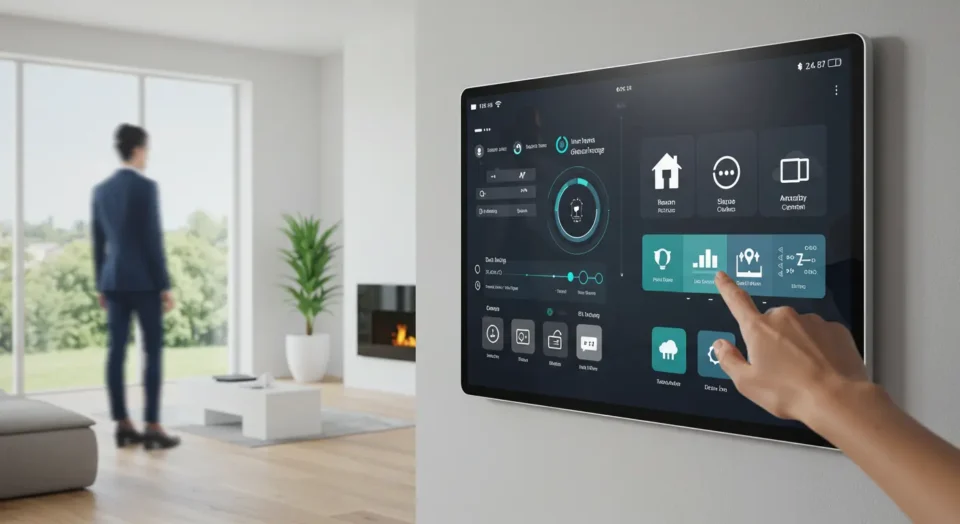
Before diving into the creation process, it’s important to understand what a Home Assistant dashboard is. A dashboard in Home Assistant is a customizable interface where you can add cards that display information or allow you to control devices. These dashboards can be accessed from any device with a web browser, including smartphones, tablets, and computers.
Getting Started with Home Assistant Dashboards
Installation
First, ensure that you have Home Assistant installed and running. The installation process will vary depending on your hardware and operating system, but Home Assistant offers a detailed installation guide.
Accessing the Dashboard Editor
Once Home Assistant is set up, you can access the Lovelace UI editor by navigating to the Overview tab from the Home Assistant sidebar. Here, you can start creating and editing your dashboards.
Creating Your First Dashboard
Step 1: Create a New Dashboard
To create a new dashboard:
- Click on the three dots in the top right corner of the Overview tab.
- Select “Manage Dashboards.”
- Click “Add Dashboard,” name it, and click “Create.”
Step 2: Add Your First Card
With your new dashboard created, it’s time to add your first card. Cards are the building blocks of dashboards in Home Assistant. Each card represents a piece of data or a control option for your devices.
- Click “Add Card” at the bottom of your new dashboard.
- Choose a card type from the list. For beginners, the “Entities” card is a good starting point. This card allows you to group multiple devices or sensors together.
- After selecting your card type, customize it by selecting the entities you want to display.
- Once you’re satisfied with the configuration, click “Save.”
Step 3: Organize Your Dashboard
After adding your first card, you can continue to add more cards for other devices or data points. It’s important to organize these cards logically so that your dashboard is easy to use.
Grid Layout
Home Assistant dashboards use a grid layout, so you can drag and drop cards to rearrange them.
Tabs
If you have many devices, consider using tabs to separate different areas of your home or different types of devices.
Customize the Look and Feel
Customizing the appearance of your dashboard can make it more user-friendly and visually appealing.
Themes
Home Assistant supports custom themes that can change the overall look of your dashboard.
Icons and Colors
You can also customize the icons and colors used on your cards to better represent your devices.
Advanced Features for Dashboards
Once you’re comfortable with the basics, you can explore more advanced features:
Conditional Cards: Show or hide cards based on certain conditions (e.g., only show a card if a device is on).
Custom Cards: Use custom cards from the Home Assistant community to add unique functionality.
Automations and Scripts: Integrate your dashboard with Home Assistant’s automation engine to control devices based on triggers or schedules.
Common Troubleshooting Tips
Card Not Displaying Correctly: Ensure that the entities you’re trying to display are correctly set up in Home Assistant.
Slow Loading Times: Too many entities or complex cards can slow down your dashboard. Optimize by grouping entities or using lighter cards.
Dashboard Not Saving Changes: Check for browser issues or possible errors in your Home Assistant setup.
Conclusion
Creating your first Home Assistant dashboard is a rewarding experience that allows you to take full control of your smart home in a way that’s tailored to your needs. As you become more familiar with the Lovelace UI, you’ll find new and creative ways to manage and visualize your smart devices. Remember, the key to a successful dashboard is organization, simplicity, and customization to match your personal style and needs.
Frequently Asked Questions
Can I create multiple dashboards?
Yes, you can create as many dashboards as you need to organize your smart home devices and information.
Can I customize the appearance of my dashboard?
Absolutely! You can change the background color, layout, and widget styles to match your preferences.
How do I add new entities to my dashboard?
Simply drag and drop entities from the sidebar onto your dashboard.
Can I create custom widgets?
While Home Assistant offers a variety of built-in widgets, you can also create custom widgets using Lovelace, Home Assistant’s frontend framework.
Can I automate actions based on dashboard events?
Yes, you can create automations that trigger actions when specific entities or conditions are met on your dashboard.
How do I share my dashboard with others?
Home Assistant allows you to share your dashboard with other users who have access to your instance.
Can I import or export dashboards?
Yes, you can import and export dashboards to easily share or backup your configurations.
Are there any community resources for dashboard inspiration?
Yes, the Home Assistant community has a wealth of resources, including forums and online galleries, where you can find inspiration for your dashboard designs.
Can I use 3D floor plans in my dashboard?
Yes, Home Assistant supports the integration of 3D floor plans, providing a more immersive and interactive experience.
What are some common mistakes to avoid when creating a dashboard?
Some common mistakes include overcrowding your dashboard with too many entities, using inconsistent styling, and not considering user experience.
How often should I update my dashboard?
As your smart home grows and changes, you may need to update your dashboard to reflect the new devices and automations. It’s a good practice to review and update your dashboard periodically to ensure it remains relevant and functional.


